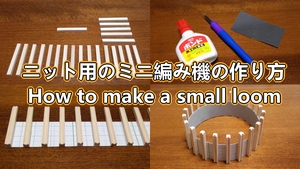
ニット用のミニ編み機の作り方
今日の手作り作品は、『ニット用のミニ編み機』です。
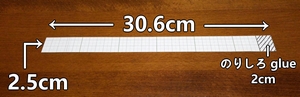
材料
厚紙は、約2.5cm×30.6cm。(のりしろ2cm分を含む。)
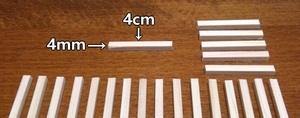
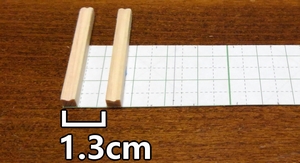
細い木の棒は、約4mm×4cmのものを22本。
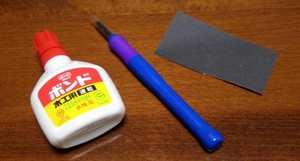
あと、彫刻刀やボンド、紙やすりなどもあると便利です。
作り方
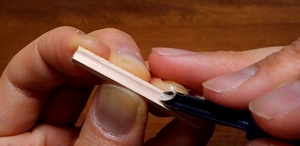
1. 木の棒に溝を彫ります。(編み用のフックに糸をかけやすくするため。)
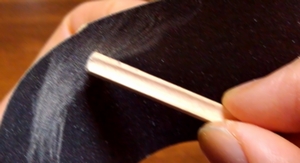
2. 棒に紙やすりをかけて滑らかにします。(編むときに毛糸が引っかからないようにするため。)
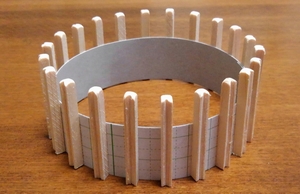
3. 厚紙に棒を貼り付けます。(等間隔で)
4. 厚紙を輪にして完成です。
この作品の動画版はこちら。