鯨ポーチの作り方
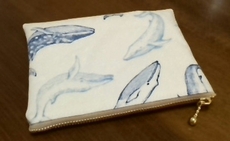
今日の手作り作品は、『鯨柄のファスナーポーチ』です。
材料
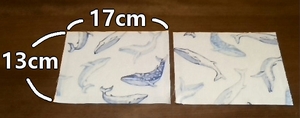
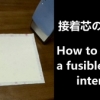
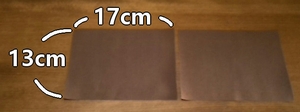
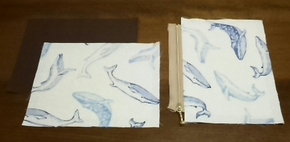
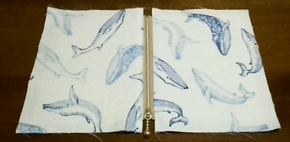
外袋用の布は、13cm×17cmを2枚。(縫い代込み、裏に接着芯を貼る。)
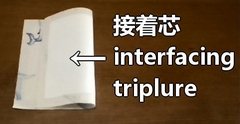
接着芯を貼ると、生地にハリが出て、ポーチが型崩れしにくくなります。
内袋用も、13cm×17cmを2枚。(縫い代込み。)
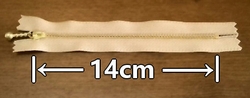
ファスナーは、14cmのものが1本です。
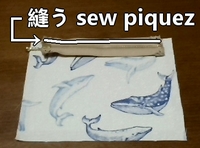
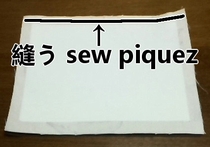
ファスナーは、両端のテープ部分を折り、縫い止めておきます。
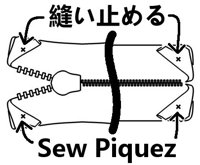
ファスナーの端は、ポーチの縫い代にかからないように折ります。端が縫い代の上に重なってしまうと、厚みが増して縫いにくいですし、仕上がった時の見た目にも影響します。
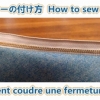
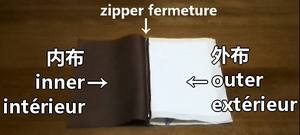
ファスナーをつける
1. 外布とファスナーを中表で縫い合わせます。
2. その後、内布を中表で重ね、縫い合わせます。
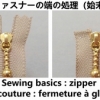
ポーチの出来映えを左右するファスナー付け。「付け方が分からない」とか、「ファスナーを縫うのが苦手」という方はこちらの記事をどうぞ。手順を具体的に説明してます。
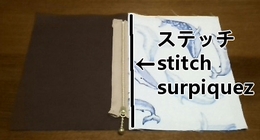
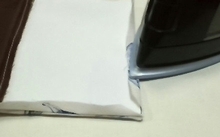
3. 外布を折り返してアイロンをあて、縁にステッチを入れます。

4. ファスナーのもう片側も、同様に仕立てます。
ポーチに仕立てる
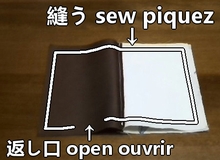
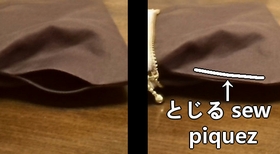
1. 外布と内布、それぞれを中表に重ね、縁を一周縫います。(※返し口部分、5cmほどは縫わずにあけておく。)
ファスナーをつけた部分は生地が分厚くなっているので、縫う時に注意が必要です。
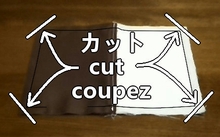
2. 角の部分をカットして、縫い代を割ります。
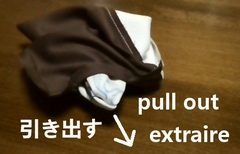
3. 返し口から表に返し、口をとじれば完成です。
この作品の動画版はこちら。