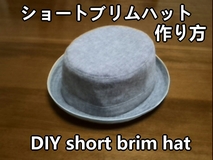
ショートブリムハット:作り方
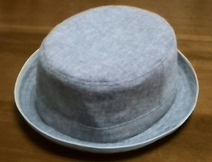
今日の手作り作品は、『ショートブリムのハット』です。
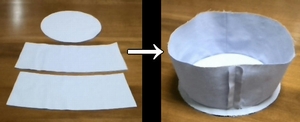
材料
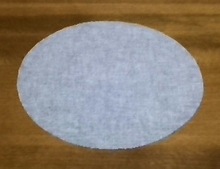
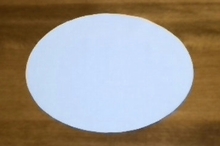
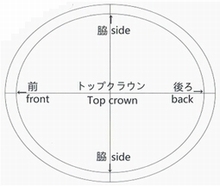
外クラウンのトップを1枚。(縫い代込み、裏に接着芯を貼る。)
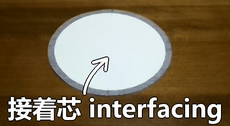
接着芯を貼ると、生地にハリが出て、帽子が型崩れしにくくなります。
内クラウンのトップを1枚。(縫い代込み。)
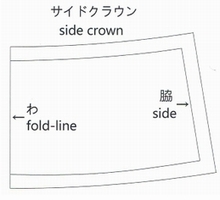
外クラウンのサイドを2枚。(縫い代込み、裏に接着芯を貼る。)
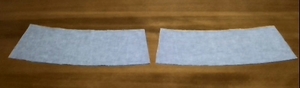
内クラウンのサイドを2枚。(縫い代込み。)
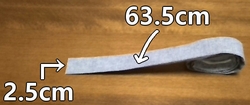
2.5cm×63.5cmのリボンを1本。
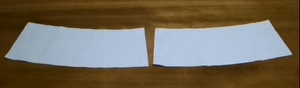
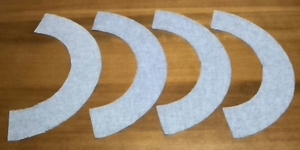
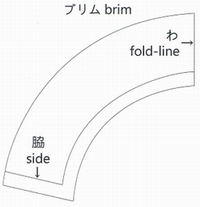
ブリム用を4枚。(縫い代込み、裏に接着芯を貼る。)
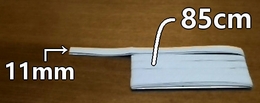
バイアステープは、幅11mm、長さ約85cmの縁どり用のものを1本。
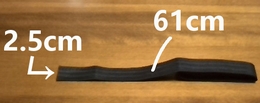
2.5cm×61cmのサイズテープを1本。
型紙はこちら。
外クラウンを仕立てる
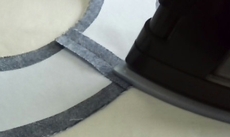
1. サイドクラウン2枚を中表で縫い合わせます。
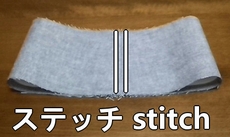
2. 縫い代を割って、ステッチを入れます。
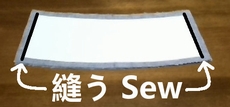
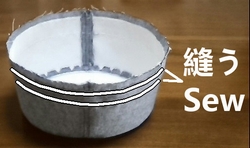
3. サイドとトップを中表で縫い合わせます。(アイロン両面接着テープを使うのがオススメ)

4. リボンを縫いつけます。
内クラウンを仕立てる
内クラウンも、作り方は外クラウンと同じです。
ブリムを作る
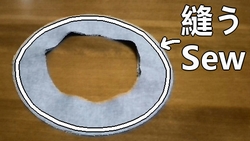
1. ブリム用の布を中表で縫い合わせ、縫い代を割ります。
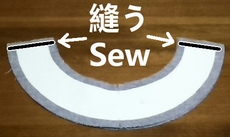
2. 外表に重ね、縁を縫います。
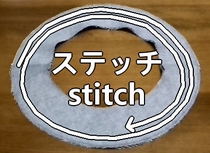
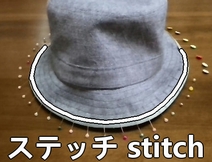
3. ステッチをいれます。
帽子に仕立てる
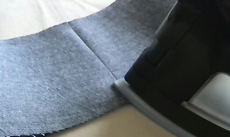
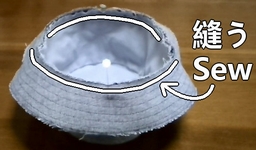
1. 外クラウンと内クラウンを外表に重ね、縫い合わせます。
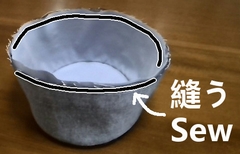
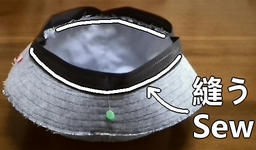
2. クラウンとブリムを中表で縫い合わせます。
3. 帽子のかぶり口にサイズテープをつけます。
4. ブリムの縁をバイアステープでくるみ、完成です。
この作品の動画版はこちら。