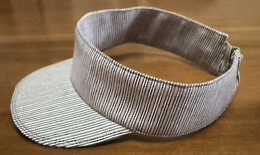
ヒッコリー柄のサンバイザー:作り方
今日の手作り作品は、『ヒッコリー柄のサンバイザー』です。
材料
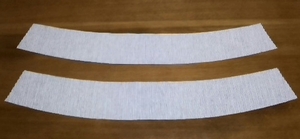
バンド用の布を2枚。(縫い代込み、裏に接着芯を貼る。)
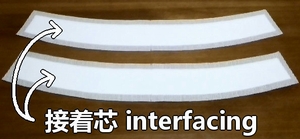
接着芯を貼ると、生地にハリが出て、バンド部分が型崩れしにくくなります。
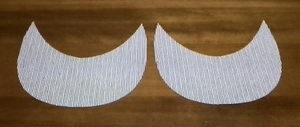
ブリム用を2枚。(縫い代込み。)
帽子用のポリ芯を1枚。(裁ちきり)
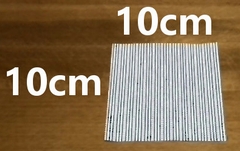
10cm×10cmのゴム通し布を1枚。(縫い代込み。)
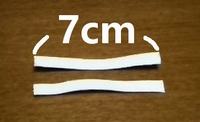
ゴム紐は、長さ7cmのものを2本です。
型紙はこちら。
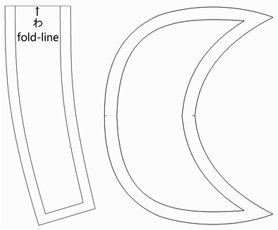
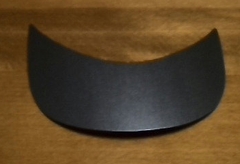
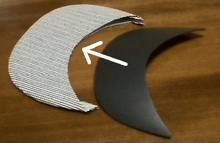
ブリムを作る
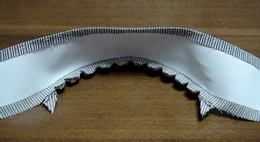
1. ブリム用の布を中表で縫い合わせます。
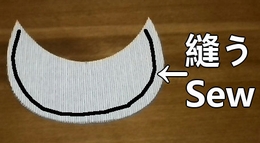
2. 縫い代に切り込みを入れ、縫い代を割ります。
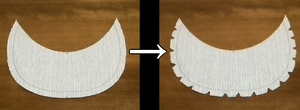
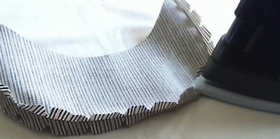
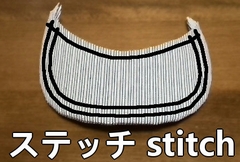
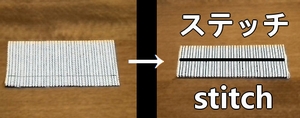
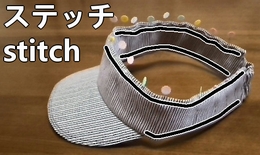
3. 表に返してポリ芯を入れ、縁にステッチを入れます。
ゴムバンドを作る
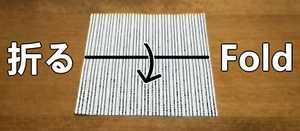
1. ゴム通し布を中表で半分に折り、縫います。
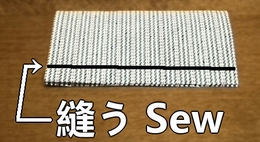
2. 表に返して、中央にステッチを入れます。
3. ゴムを通し、端を縫い止めます。
サンバイザーに仕立てる
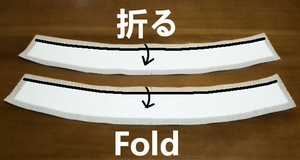
1. バンドの上側に1cm幅の折り目をつけます。
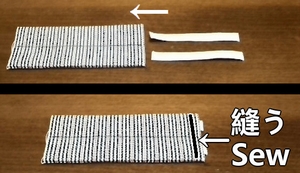
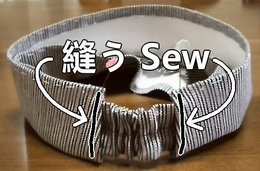
2. ブリムと片方のバンドを中表に重ね、仮止めします
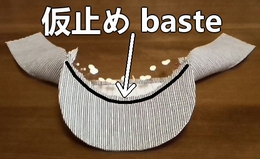
3. ブリムとバンドの縫いつけ部分、「縫い代」に切り込みを入れます。
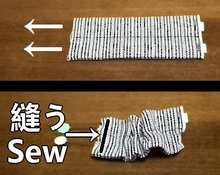
4. もう片方のバンドを中表で重ねて縫い合わせ、縫い代を割ります。(縫う時に布を噛みやすいので慎重に。)
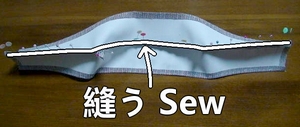
5. バンド端に1cm幅の折り目をつけます。
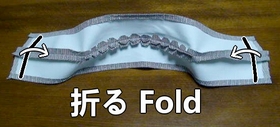
6. バンド部分にゴム入りバンドを縫いつけます。
7. バンド上部を縫い止め、ブリム以外の縁にステッチを入れて完成です。
この作品の動画版はこちら。