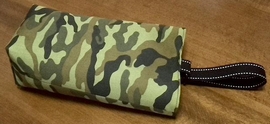
迷彩柄の上履き入れ:作り方
今日の手作り作品は、『迷彩柄の上履き入れ』です。
材料
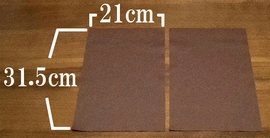
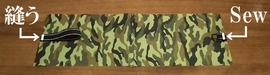
外袋用の布2枚は、32cm×21cmの大きさ。(縫い代込み、裏に接着芯を貼る。)
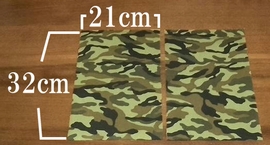
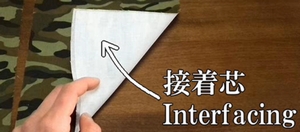
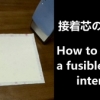
接着芯を貼ると、生地にハリが出て、上履き入れが型崩れしにくくなります。
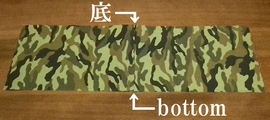
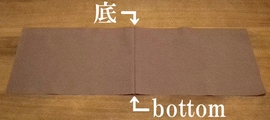
外布2枚は、底を中表に縫い合わせ、縫い代を割っておきます。
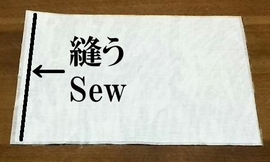
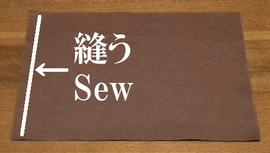
内袋用の布2枚は、31.5cm×21cmの大きさ。(縫い代込み。)
これも、底を中表に縫い合わせ、縫い代を割っておきます。
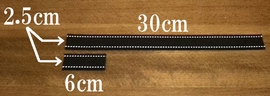
アクリルテープは、2.5cm×30cmのものが1つ。2.5cm×6cmのものが1つ。
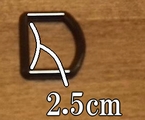
Dカンは、2.5cm幅用のものが1つです。
作り方
1. アクリルテープを半分に折り、外布に縫い付けます。(短い方にはDカンを挟んでおく)
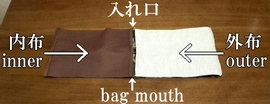
2. 外布と内布を中表に重ね、入れ口側を縫います。(縫った後、縫い代を割る)


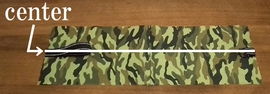
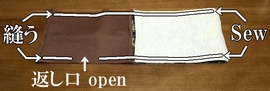
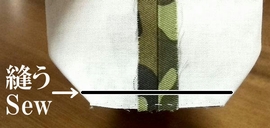
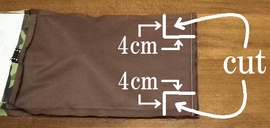
3. 入れ口を中心に置き、脇を縫います。(※返し口部分、8cmほどは縫わずにあけておく。)
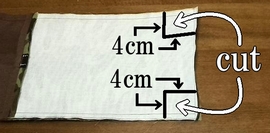
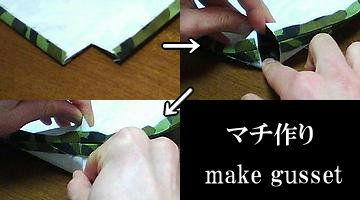
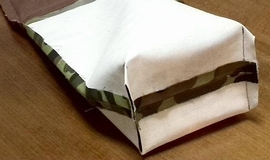
4. 底の隅の部分をカットして、縫い代を割り、マチを作ります。
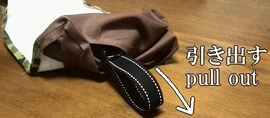
5. 返し口から表に返し、口をとじます。

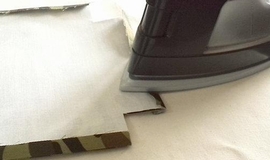
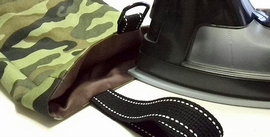
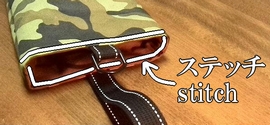
6. アイロンをあてて形を整え、入れ口にステッチを入れ、完成です。
この作品の動画版はこちら。