星柄のペンケース:作り方
今日の手作り作品は、『星柄のペンケース』です。

材料
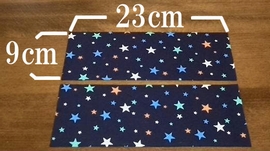
外袋用の布は、9cm×23cmを2枚。(縫い代込み、裏に接着芯を貼る。)

接着芯を貼ると、生地にハリが出て、ペンケースが型崩れしにくくなります。
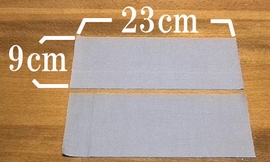
内袋用も、9cm×23cmを2枚。(縫い代込み。)
縫い代をくるむための布は、5cm×10cmが2枚。(縫い代込み。)

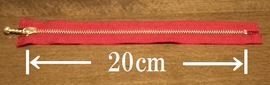
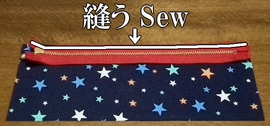
ファスナーは、20cmのものが1本です。
ファスナーをつける
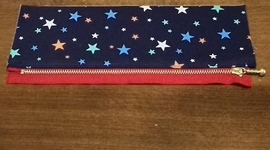
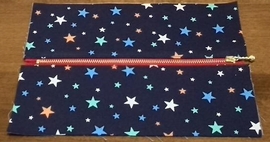
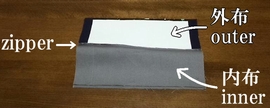
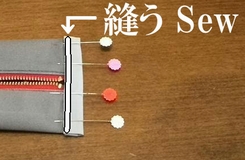
1. 外布とファスナーを中表で縫い合わせます。
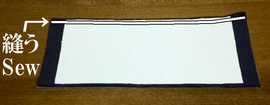
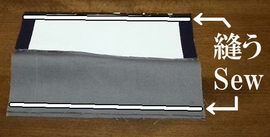
2. その後、内布を中表で重ね、縫い合わせます。
ペンケースの出来映えを左右するファスナー付け。「付け方が分からない」とか、「ファスナーを縫うのが苦手」という方はこちらの記事をどうぞ。手順を具体的に説明してます。
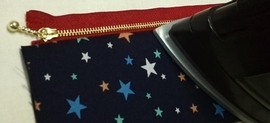
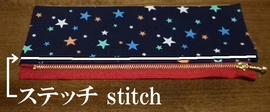
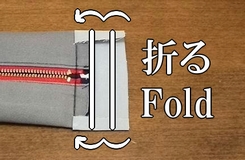
3. 縫った生地を折り返してアイロンをあて、縁にステッチを入れます。
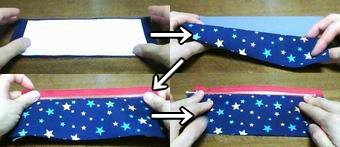
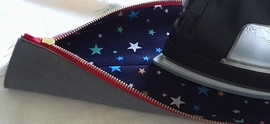
4. ファスナーのもう片側も、同様に仕立てます。
ペンケースに仕立てる
1. 外布と内布、それぞれを中表に重ね、底を縫い合わせます。
2. 表に返し、アイロンで形を整えます。
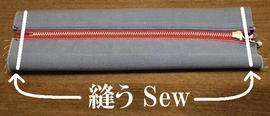
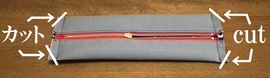
3. 脇を縫い、その後、余分な縫い代をカット。
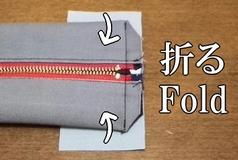
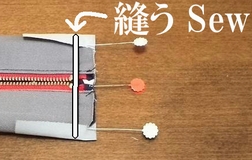
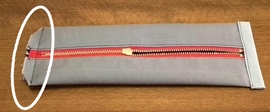
4. 脇の縫い代をくるみます。
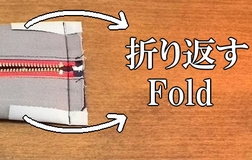
5. もう片方の縫い代も、同様に始末します。
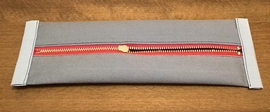
6. 表に返し、完成です。

この作品の動画版はこちら。