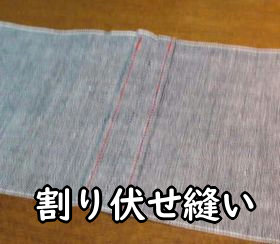
割り伏せ縫い(ソーイング用語&テクニック)
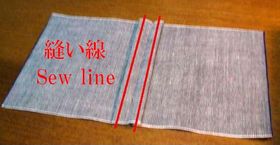
割り伏せ縫いは、布端のほつれ止めと、縫い代の押さえが同時にできる縫い方。 スリットが入る部分などに使われることが多いです。
割り伏せ縫いのやり方
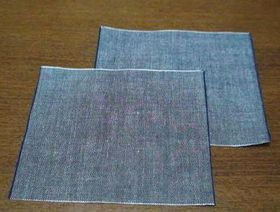
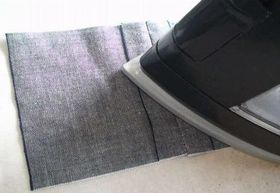
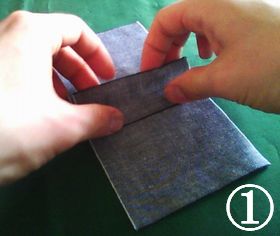
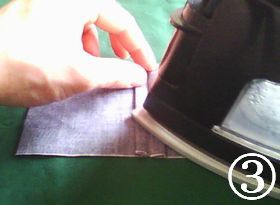
2枚の布を中表に縫い合わせ、アイロンで縫い代を割ります。
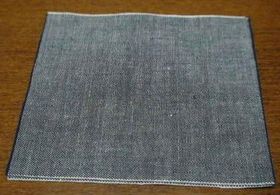
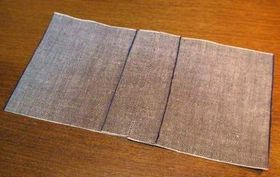
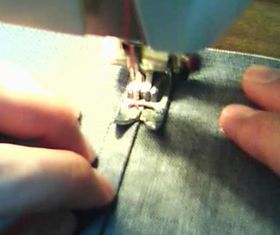
その後、縫い代を半分くらい折り返します。

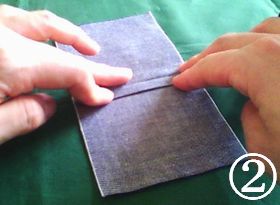
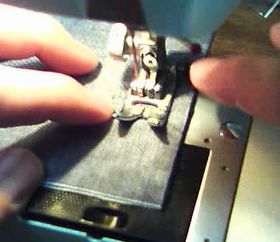
あとは、折り端から約2mmのところを縫えば出来上がりです。
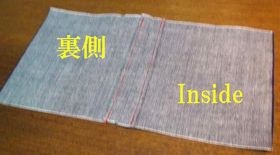
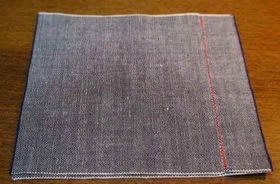
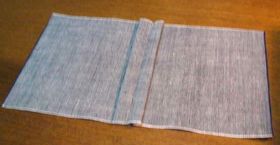
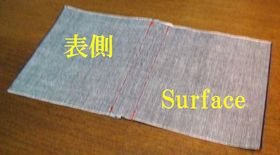
縫い代を本体の布に縫い付けるので、表に縫い目が出ます。
動画版はこちら。
割り伏せ縫い(ソーイング用語&テクニック)- YouTube
小物作りに使えるソーイングテクニックのまとめ
メタルファスナーの付け方
ペタンコポーチ(マチ無しのフラットタイプ)を例に説明します。
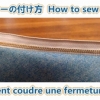
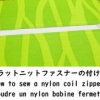
フラットニットファスナーの付け方
薄くて軽いので、小物作りに向いているファスナーです。カラーバリエーションも豊富。
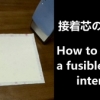
接着芯の貼り方
生地にハリを持たせる接着芯。アイロンでの貼り方を解説します。
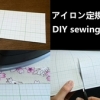
アイロン定規の作り方
生地に折り目を付けるのに使います。アイロンの熱にも耐えるよう、厚紙で作ります。
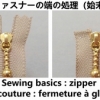
ファスナーの端の処理(始末)
メタルファスナーの場合は、ファスナーテープに厚みがあるので、端を始末するのがオススメです。ポーチなどが作りやすくなります。
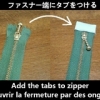
ファスナー端にタブをつける
ファスナーの端を外に出す時の始末の仕方です。ファスナー付きのトートバッグや、ワイヤーポーチを作る時に役立ちます。