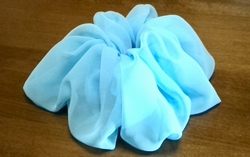
DIY hair scrunchie (chiffon)
Today’s handcrafted goods is “hair scrunchie (chiffon)".
Materials
Fabric (chiffon georgette) is 22cm by 110cm. (Seam allowances are included)

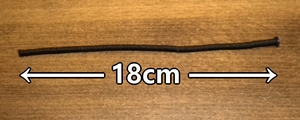
Elastic is 18cm.
How to make
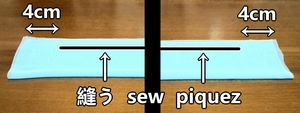
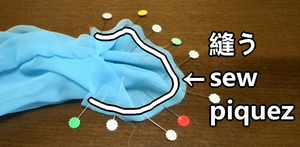
1. Fold the fabric in half with right side together. Then sew. (Leaving 8cm open for turning.)
2. Turn inside out. Then put the seam down.
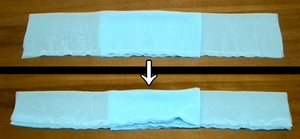
3. Fold the fabric in half. Then sew. (It is better to baste. Be careful about sewing.)
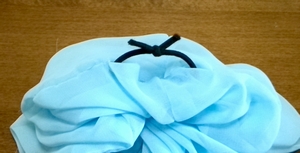
4. Thread the elastic through, tie the elastic end.

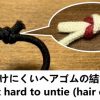
How to tie hair elastic that can be firmly tied and easy to untie.
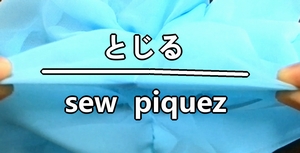
5. Sew the edge. Fix the shape. It’s done.
Making movie is the following.