How to make a water bottle holder with a shoulder strap
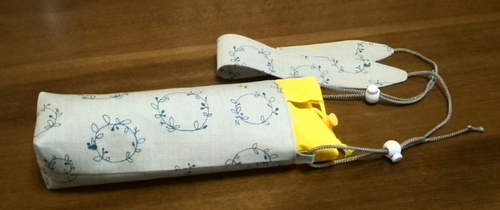
Today’s handmade work is a “water bottle holder with a shoulder strap”. Both the cover and the shoulder strap are made as easy as possible, without any difficult steps.
For the bottom of the holder, I made a square shape because it is difficult to sew a round bottom. I also made the shoulder strap simple because the water bottle itself is not that heavy.
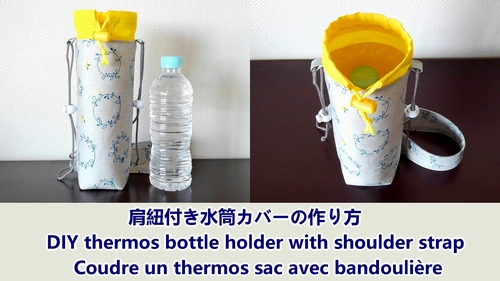
This water bottle holder is designed to be used by children, so I added a shoulder strap, but it can be removed if it is not needed. The mouth of the cover has a drawstring so that the mouth can be closed. (to prevent the water bottle from falling out.)
The water bottle container itself is lined and well made. The finished size is about 24cm x 6cm, with a gusset diameter of about 6cm. It is large enough to hold a 500ml Thermos water bottle.
Materials
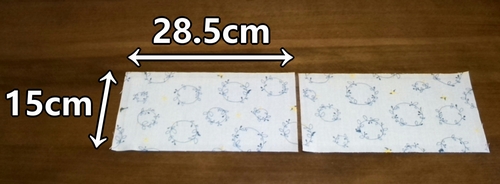
The 2 pieces of fabric for the exterior are 15cm x 28.5cm. (Seam allowances are included, interfacing to be attached)
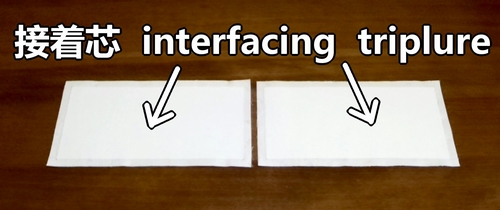
Fusible interfacing gives the fabric firmness, and helps to keep the shape of bottle holder.
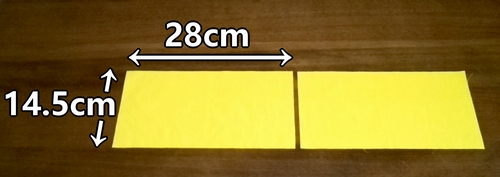
The 2 pieces of fabric for the lining are 14.5cm x 28cm. (Seam allowances are included)
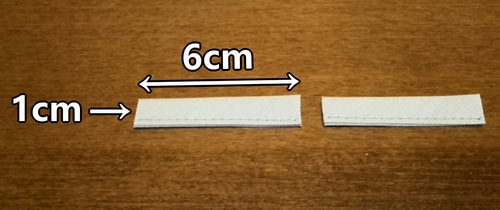
For tabs, 2 pieces of tape or ribbon are needed. (1cm x 6cm in size)
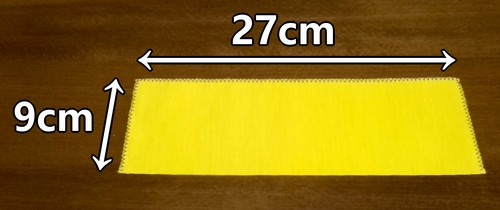
The fabric for the drawstring is 9cm x 27cm. (Seam allowances are included. Sew the edges with a zig zag stitch.)
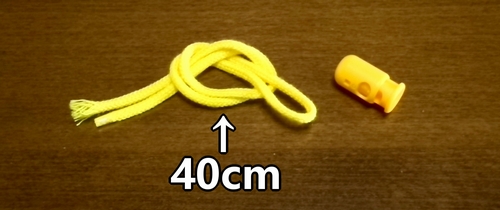
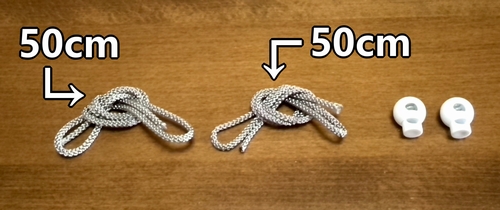
Cord for drawstring fabric is 40cm. 1 cord lock (cord stopper) is needed.
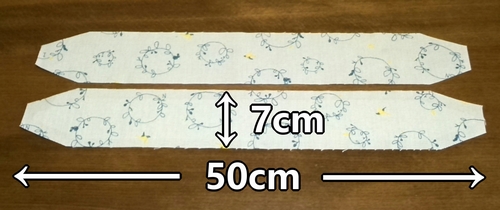
For shoulder strap, 7cm x 50cm are 2 pieces. (Seam allowances are included, interfacing to be attached)
Cords for shoulder strap, 50cm are 2 pieces. 2 cord locks.
How to make the drawstring fabric of water bottle holder
1. Fold the ends of the drawstring fabric at a width of 1cm, and stitch.
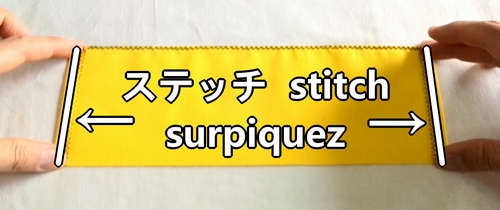
When making creases, it is recommended to use a hot sewing ruler to iron. (hot hemmer) It will make the creases tighter and the finished product more beautiful.
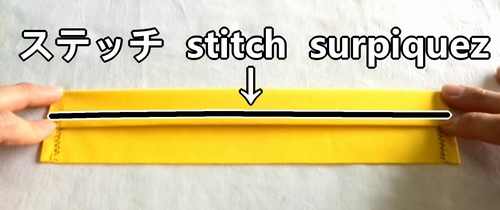
2. Fold the top edge. (1cm from the top edge、2.5cm wide) Then stitch.
How to make the exterior
1. Lay the exterior fabrics with right sides together, and sew the sides and bottom. (Right side means the front sides of the fabric are lined up with each other.)
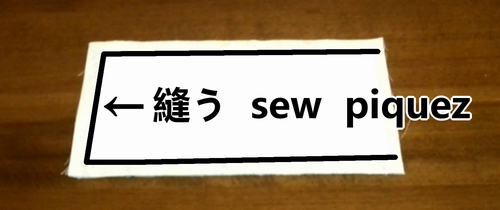
2. Cut off extra fabrics, and press seam allowances open. Then make gusset, and sew.
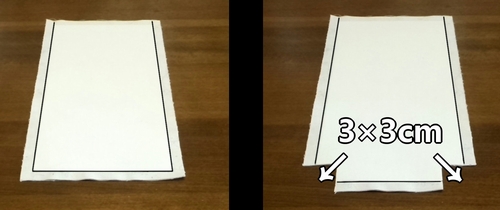
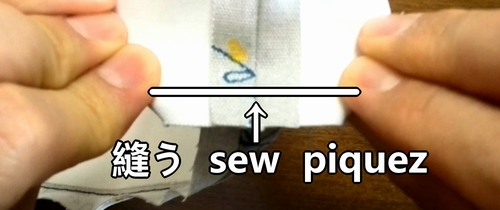
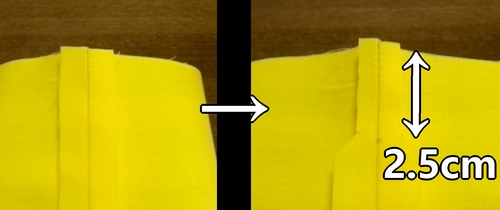
3. Cut a little extra seam allowance at the sides. (about 2.5cm from the opening)
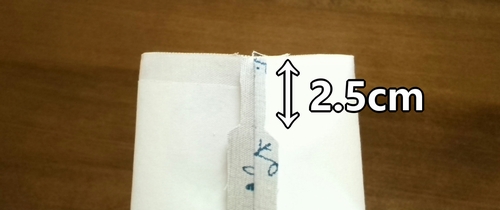
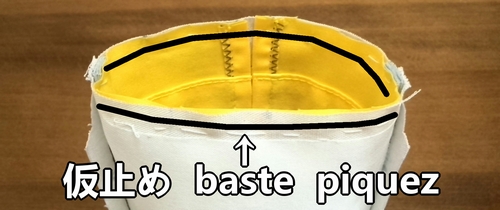
4. Baste the exterior fabric and tabs together.
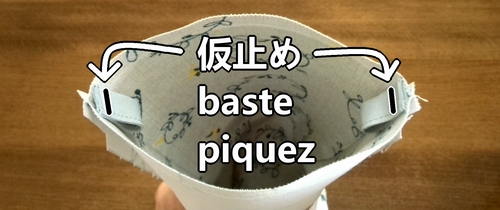
5. Baste the exterior fabric and drawstring fabric with right side together.
How to make the lining
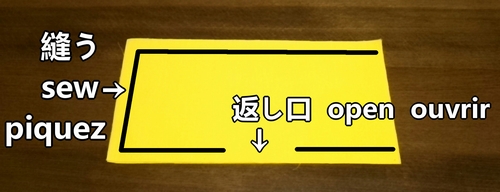
1. Layer the lining fabrics with right side, and sew the sides and bottom. (Leaving a 6cm open for turning inside out.)
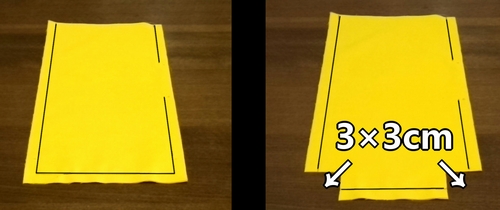
2. Cut off extra fabrics, and press seam allowances open. Then make gussets, and sew.
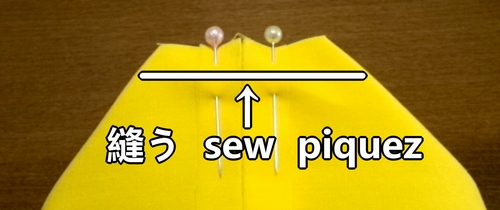
3. Cut a little extra seam allowance at the sides. (about 2.5cm from the opening)
How to make the water bottle holder body
1. Insert the lining into the exterior with right side together. Then sew around the opening.
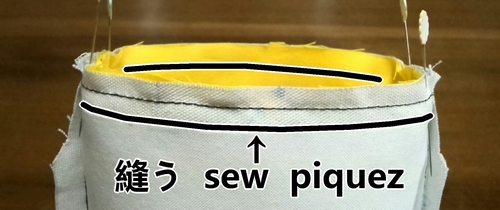
2. Press seam allowances open, and turn inside out.
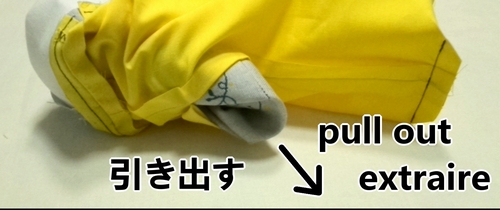
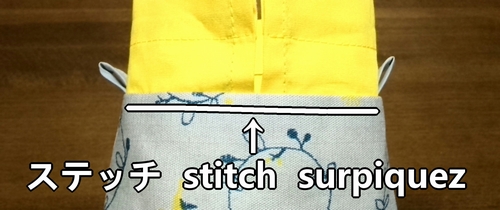
3. Sew the edge.
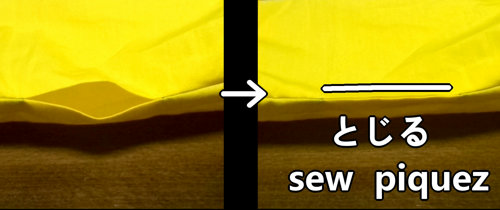
4. Stitch in the opening and iron it into shape.
How to make the shoulder strap
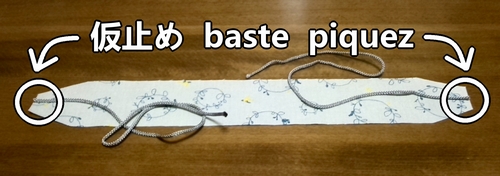
1. Baste the shoulder strap fabric and cords together.
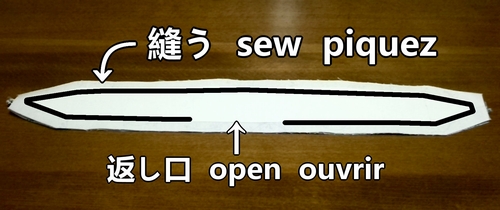
2. Sew the shoulder strap fabrics with right side together. (Leave about a 7cm opening for turning.)
3. Cut off extra seams. Press seam allowances open.
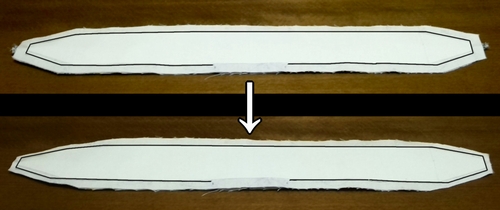
4. Turn inside out, and stitch the edge.
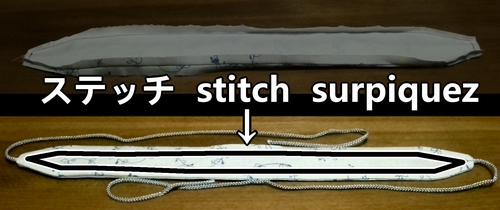
5. Thread the cord through, and attach the cord lock. Connect the body and shoulder strap. Your water bottle holder is now complete.
Following is the video for how-to.

Discussion
New Comments
No comments yet. Be the first one!