How to make a 6 patched fabric ball (DIY handmade toy tutorial)
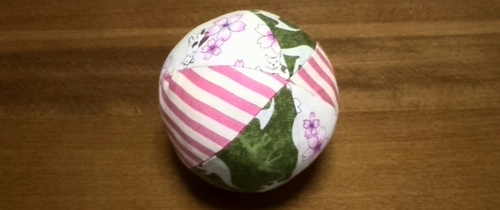
A tutorial of how I made a 6 patched fabric ball (handmade toy). Making process is simple and easy. It sews 6 pieces of fabric together, then stuff wadding and rattle into the ball. Finishing dimension is about 10cm diameter. The rattle is inside, so it’s suitable for pet toy like cat or dog.
This fabric ball is made by stitching together fabric scraps. When it comes to scraps, you can make various patterns of balls depending on the color of the fabric and different combination of patterns.
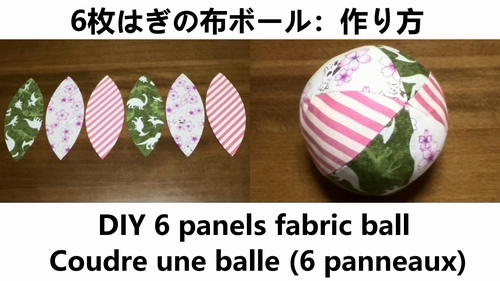
Materials
Fabrics for ball are 6 pieces. (Seam allowances are included)
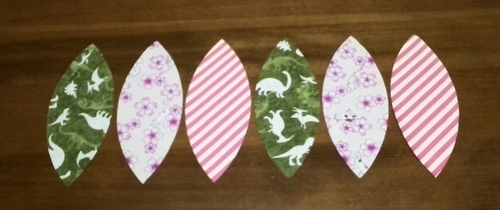
Wadding (polyester fiber fill or poly-fil) is about 25g. The fiberfill (polyester fiber fill) in the fabric ball and cushion are sold by the name, “Poly Fill or Fiberfill” at craft shops. You can find it in the section of stuffed animal and cushion making at craft shops.

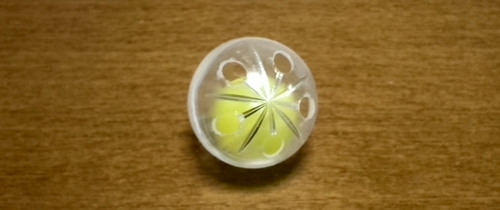
The plastic bell (rattle insert) is 1 piece. (It is like a baby rattle. You also can get it at craft shops.)
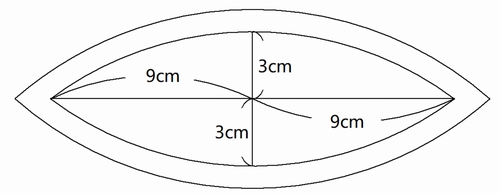
Handmade fabric ball toy pattern is here.
How to make the fabric ball (handmade toy tutorial)
1. Sew the 2 fabrics with right side together. (This means the front sides of the fabric are lined up with each other.)
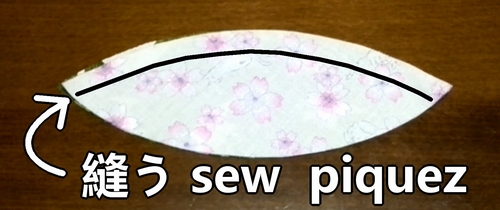
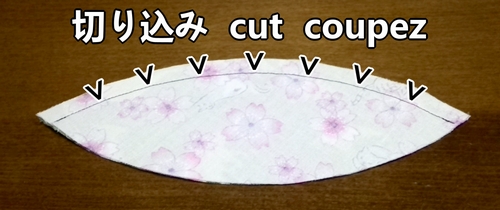
2. Make a notch in seam allowance and pressing seams open.
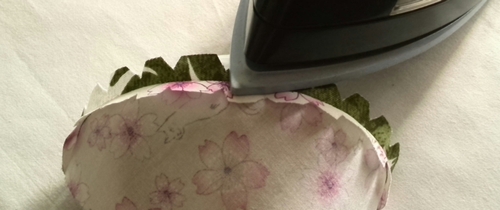
3. Then add the third piece, sew with right side together. Then press seam allowances open.
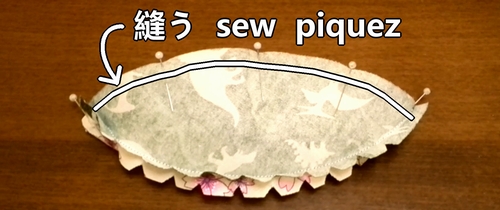
4. Do the same for 3 remaining fabrics.
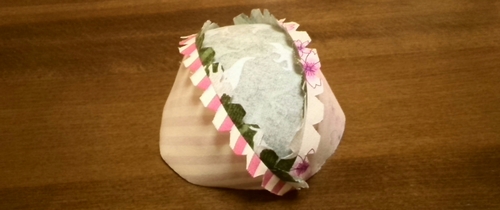
5. Sew the 2 fabrics with right side together. Then press seam allowances open. (Leaving 6cm for opening.)
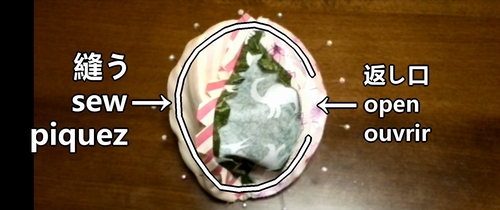
6. Turn inside out from opening.
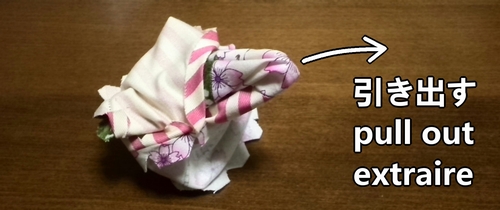
7. Stuff wadding and rattle into the ball from opening.
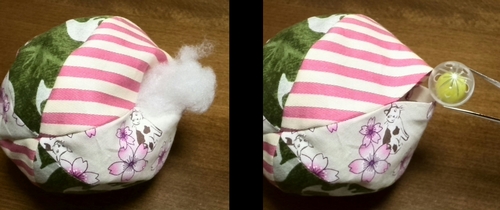
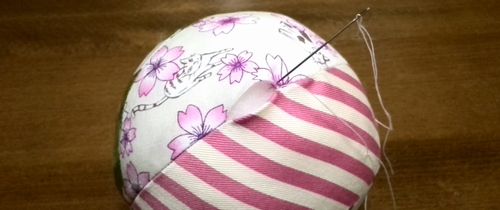
8. Sew the opening. Your handmade fabric ball toy is done.
Following is the video for how-to.
Discussion
New Comments
No comments yet. Be the first one!