DIY patched panda pouch
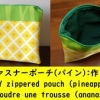
Today’s handcrafted goods is “patched pouch with panda pattern".

Materials
Outer body fabrics are 2 pieces. (Seam allowances are included, attach interfacing)

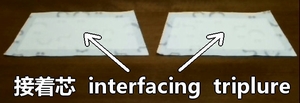
Fusible interfacing gives fabric firmness, and keeps shape of pouch.
Bottom patch fabrics are 2 pieces. (Seam allowances are included, attach interfacing)

Inner body fabrics are 2 pieces. (Seam allowances are included)

14cm zipper.

Fold the both ends of zip tape, and sew.
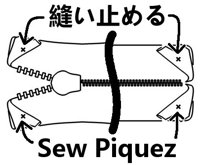
How to fold zipper tape extensions. More info.
Pattern is here.
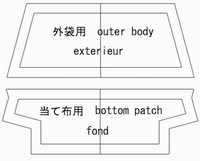
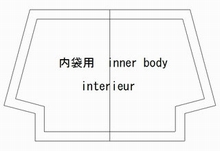
Make outer fabrics
1. Sew the outer fabric and bottom patch with right side together.
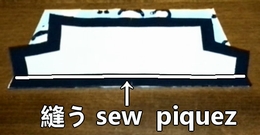
2. Press seam allowances to bottom side, and stitch.
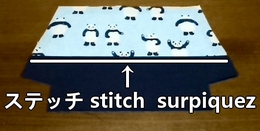
3. Other fabrics, do the same way.
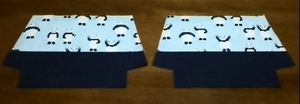
Install the zipper
1. Sew the outer fabric and zipper with right side together.
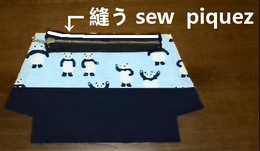
2. Sew the outer and inner with right side together.
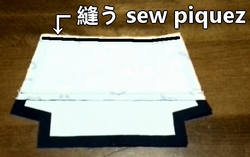
How to install a zipper. More info.
3. Fold the outer fabric, and iron. Then stitch the edge.
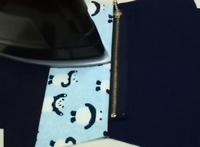
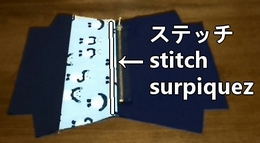
4. Sew the other side of zipper, do the same way.
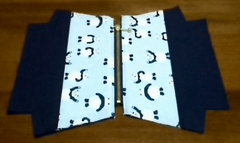
Make the pouch
1. Lay the fabric with right side, and sew the side and bottom. (Leaving 5cm open for turning. Open the zipper.)
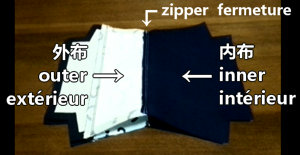
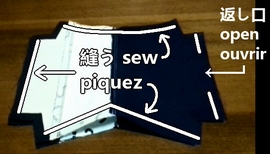
DIY zippered pouch tip and tricks.
2. Press seam allowances open. Then make gusset, and sew.
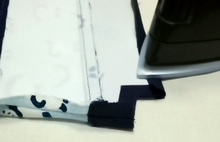
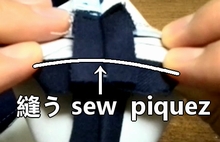
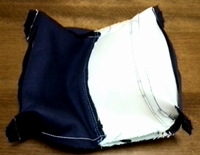
3. Turn inside out, and sew the edge. It’s done.
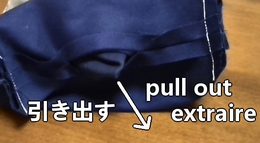
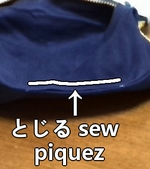
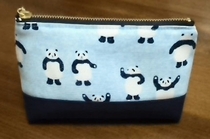
Making movie is the following.


Discussion
New Comments
No comments yet. Be the first one!