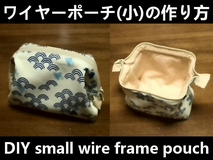
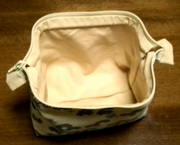
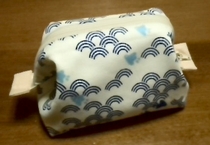
How to sew a wire frame pouch (small) sewing pattern is not necessary
Today’s handcrafted goods is “DIY wire frame pouch (small)".
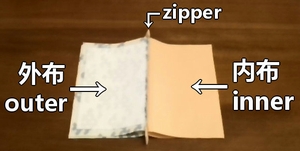
Materials
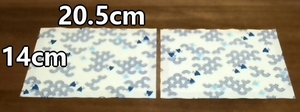
Outer body fabrics, 14cm by 20.5cm are 2 pieces. (Seam allowances are included, attach interfacing)

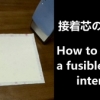
Fusible interfacing gives fabric firmness, and keeps shape of pouch.
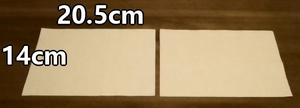
Inner body fabrics, 14cm by 20.5cm are 2 pieces. (Seam allowances are included)
20.5cm zipper. (Here, nylon coil zipper is used.)

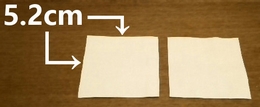
Fabric tabs for zipper, 5.2cm by 5.2cm are 2 pieces. (Seam allowances are included)
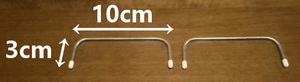
Wire frame, 3cm by 10cm are 2 pieces.
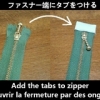
Add the tabs to zipper
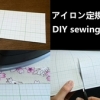
1. Fold and press the fabric tabs (1cm).

When making creases, it is recommended to use an sewing ruler for iron. The folds are neat and the finish is nicely.
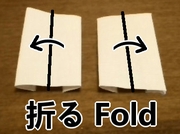
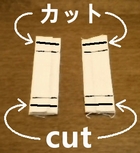
2. Fold the fabric in half with right side. Then sew the top and bottom.

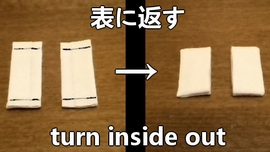
3. Cut off extra seams, and turn inside out.
4. Cover the zipper ends with tabs, and stitch.

Install the zipper
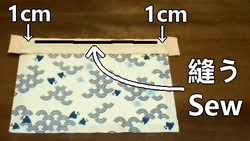
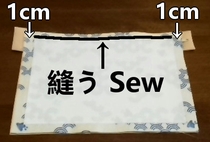
1. Sew the outer fabric and zipper with right side together. (Don’t sew 1cm from the edges.)
2. Sew the outer and inner with right side together. (Don’t sew 1cm from the edges.)
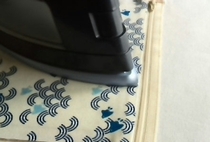
3. Fold the fabrics, and iron.
4. Sew the other side of zipper, do the same way.
Nylon coil zipper, unlike metal zipper, are thin and soft. Making it easy to adjust their length.
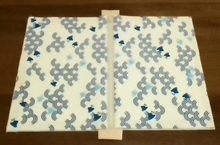
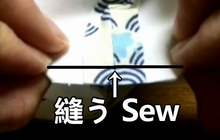
Make the pouch
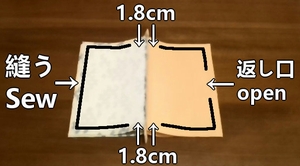
1. Lay the fabric with right side, and sew. (Leaving 6cm open for turning, and 1.8cm for wire-passing port.)
2. Fold the side seams of outer and inner (1cm). Then sew.
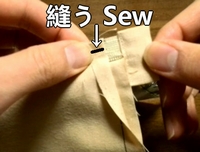
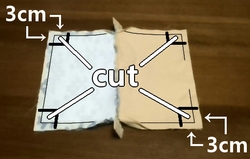
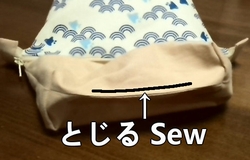
3. Cut off extra cloths, and press seam allowances open. Then make gusset, and sew.
4. Turn inside out, and sew the edge.
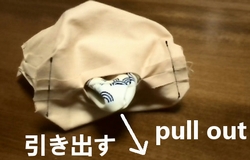
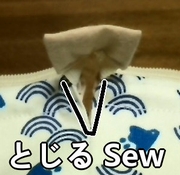
5. Make wire-passing port. (Sew stitch.)
6. Thread the wire frame through.
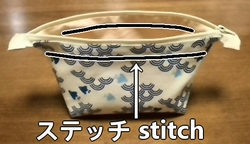
7. Sew the edges by hand. It’s done.
Making movie is the following.