How to add a zipper to a ready-made tote bag
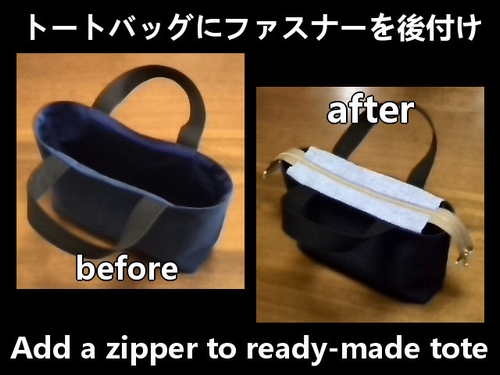
Today’s DIY: Adding a zipper to a ready-made tote bag. (How to add a zipper to a finished tote bag.)
Materials
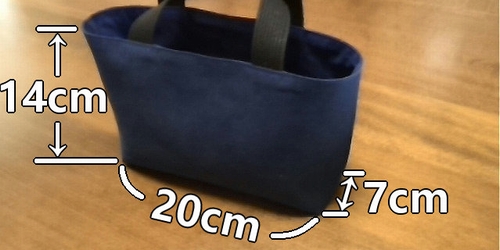
Ready-made tote bag (size:14cm Height x 20cm Length x 7cm Width/Gusset)
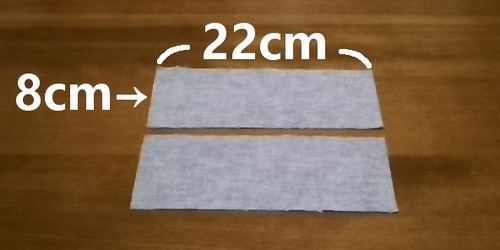
2 pieces of fabric for the zipper gusset – 8cm (gusset+1cm) x 22cm (length+2cm). (Seam allowances included)
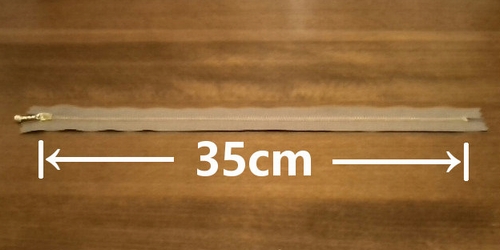
1 strip of zipper – 35cm.
2 pieces of fabric for zipper tabs – 5.2cm x 5.2cm. (Seam allowances included)
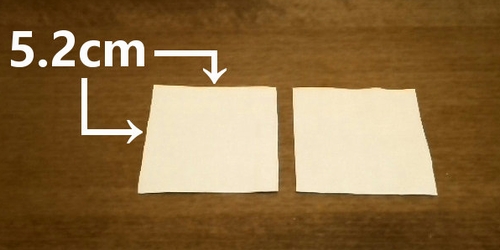
How to add the zipper tabs
1. Fold and press the zipper tab fabric (1cm wide).
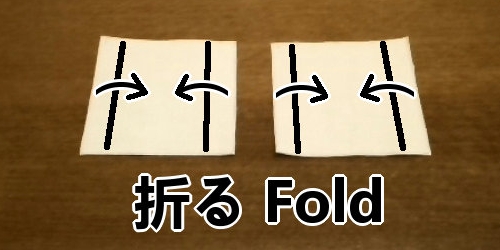
When creasing, use an ironing ruler (hot hemmer) for sharper fold lines and nicer finish.
2. Fold the fabric in half with right sides together and sew the top and bottom. (When sewing right sides together, the front side of each fabric is placed facing each other.)
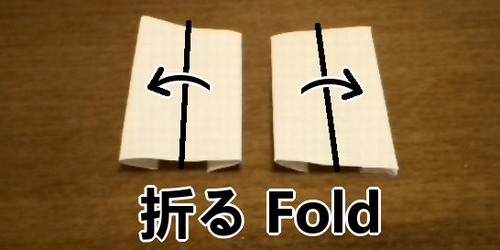
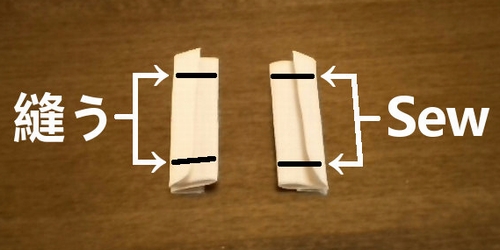
3. Cut off extra seams to about half, and turn inside out.
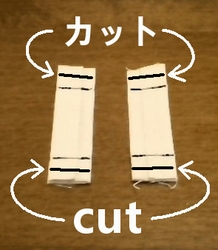
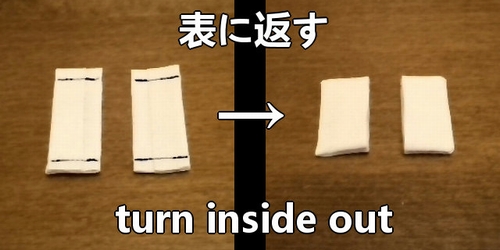
4. Cover the zipper ends with tabs, and stitch.

How to make the zipper gusset
1. Fold the zipper gusset fabric in half with right sides together. Then sew the side seam.
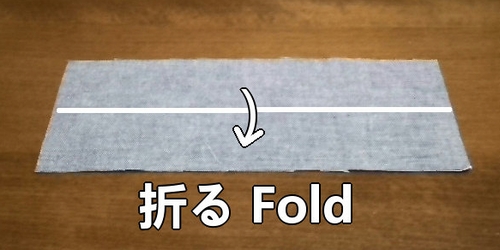
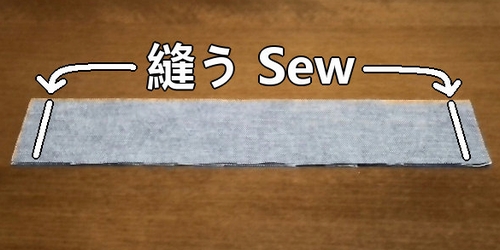
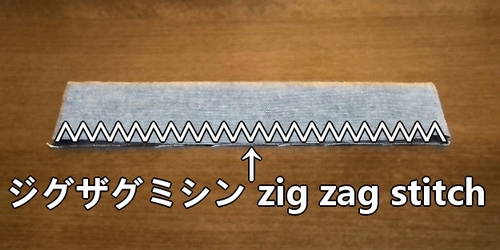
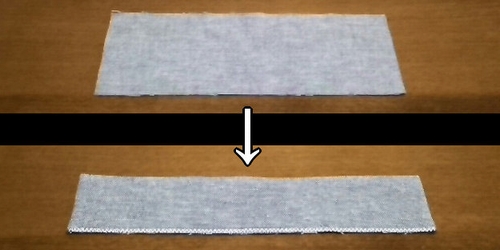
2. Turn inside out. Then sew the long edge with zig zag stitches.
3. Repeat the same steps for the other zipper gusset fabric.
How to stitch the zipper to a tote bag
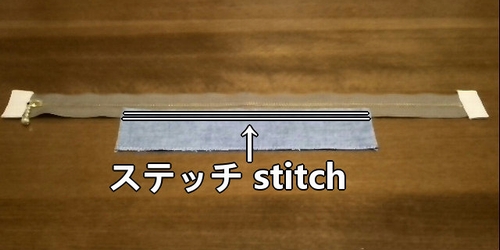
1. Place the zipper gusset along the zipper, and add two parallel stitches.
2. Stitch along 1cm from the long edge of the zipper gusset.
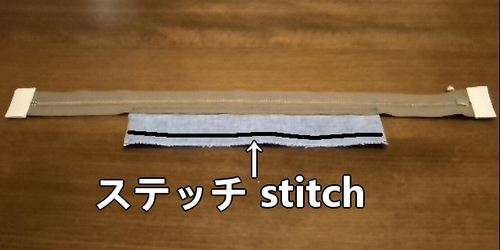
3. Do the same for the other side of zipper.
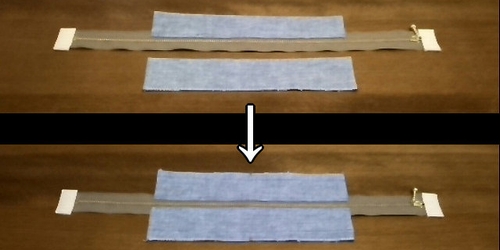
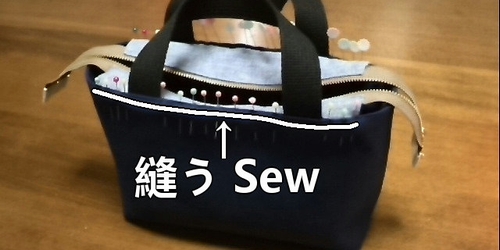
4. Stitch the sides of zipper gusset to the opening of the bag. Adding a zipper to a tote bag is complete.

Following is the video for how-to.


Discussion
New Comments
No comments yet. Be the first one!