How to make the tulip hat for kids
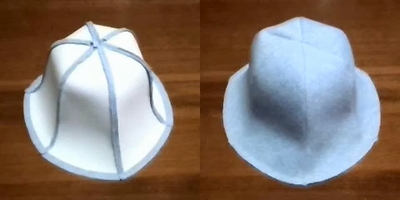
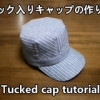
Today’s handmade item is a “tulip hat for kids”. This time I made it for a boy, but I think it would be cute to make a tulip hat for a girl by changing the fabric.
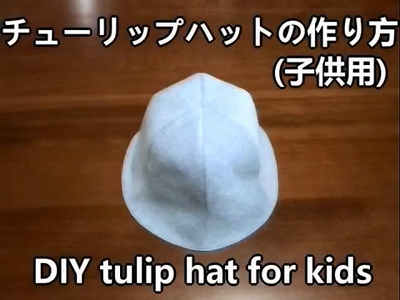
The tulip hat is relatively easy to make, as there is no need to sew the brim together. If you make a tulip hat with your child’s favorite fabric, I think they will become even more attached to it, so please give it a try.
Materials
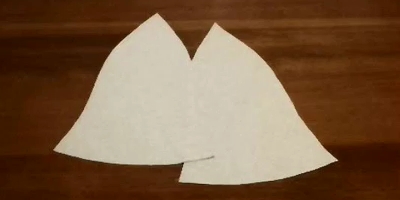
Exterior fabrics are 6 pieces. (Seam allowances are included, interfacing to be attached)
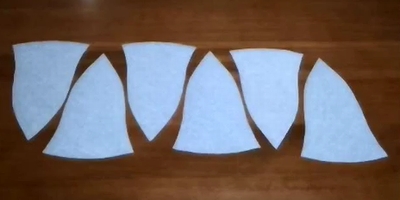
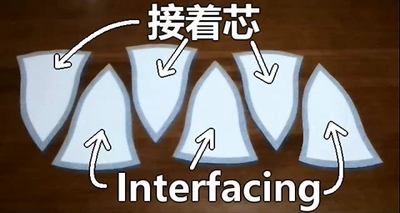
Fusible interfacing gives the fabric firmness, and helps to keep the shape of hat.
The lining fabrics are 6 pieces. (Seam allowances are included)
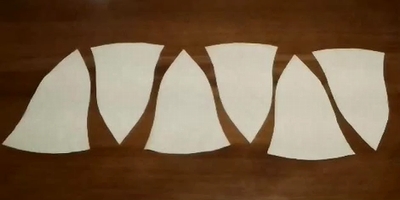
Paper pattern is here.
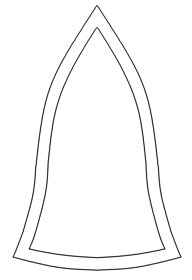
How to make the exterior
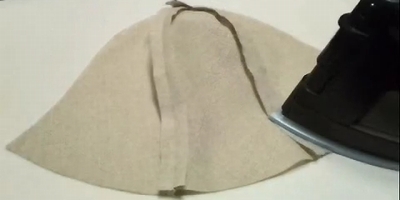
1. Sew the exterior fabrics with right side together. Then press seam allowances open. (Right side means the front sides of the fabric are lined up with each other.)
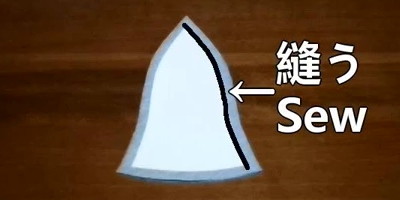
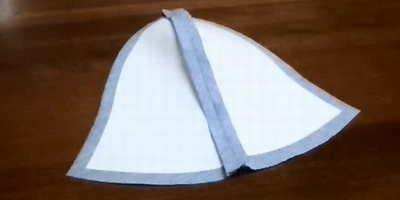
2. Add the third piece, sew with right side together. Then press seam allowances open.
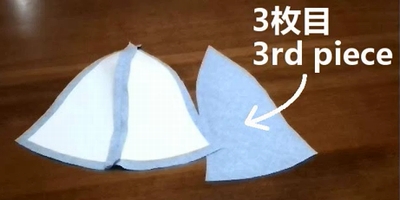
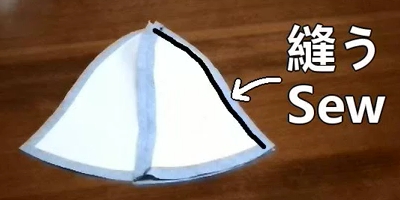
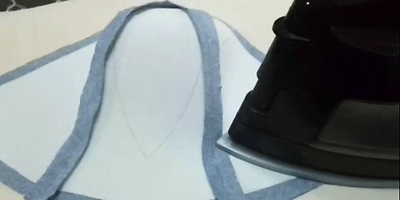
3. For the remaining 3 exterior fabric pieces, sew in the same manner.
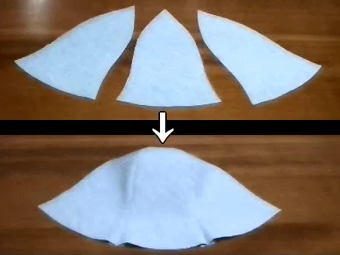
4. Now you should have two pieces of three panels sewn together. Place 2 exterior pieces with right side together, and sew. Then press seam allowances open.
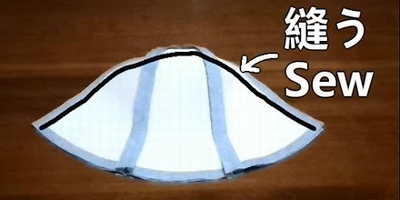
How to make the lining
Sew the lining fabrics in the same manner as the exterior fabrics.
How to make the tulip hat
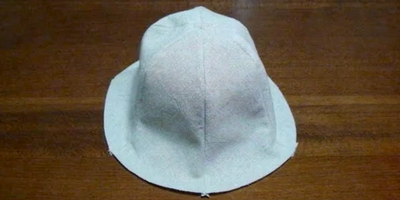
1. Sew the lining fabric and exterior fabric with right side together. (Leaving about 7cm open for turning.)
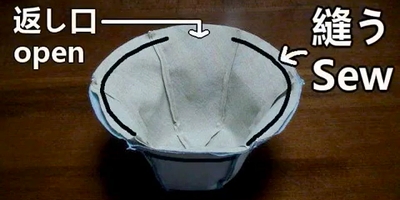
2. Press seam allowances open. Then turn the hat inside out.
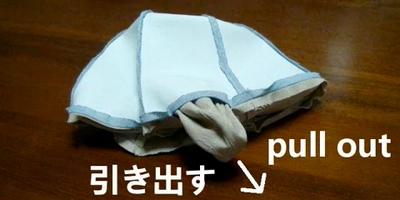
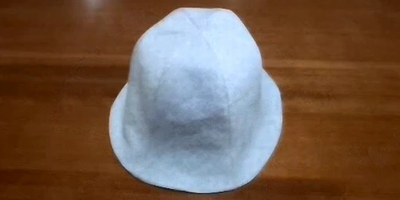
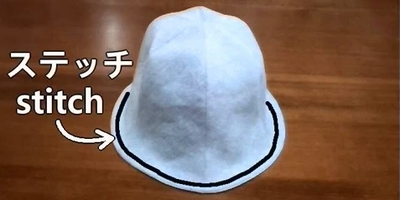
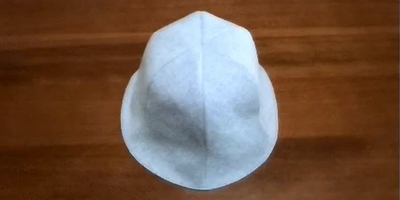
3. Finally, iron and stitch the edge. Your tulip hat is complete.
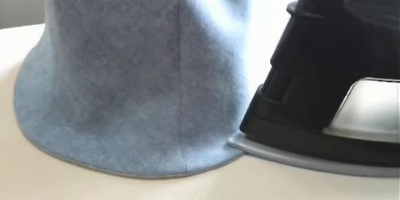
Following is the video for how-to.


Discussion
New Comments
No comments yet. Be the first one!