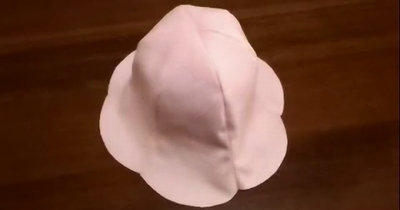
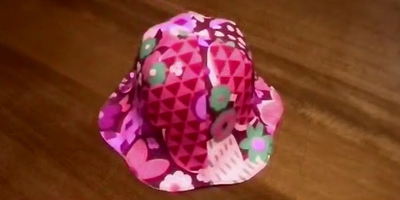
How to make a tulip hat (petal hat) for a baby
Today’s handcraft work is a tulip hat (petal hat) for a baby. This is a flower-patterned fabric hat for a baby girl. If you change the fabric and make a tulip hat for a baby boy, it will also be cute.
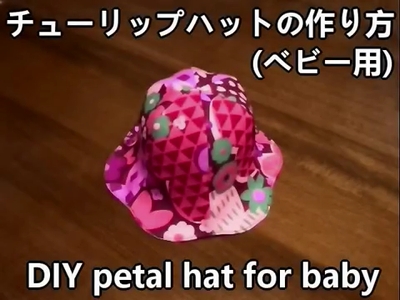
You don’t need to make a brim for the tulip hat, so it is relatively easy to make. Making a hat for a newborn baby makes you grow fond of it, so please try.
Materials
Outer fabrics are 6 pieces. (Seam allowances are included. Attach fusible interlining on the back.)

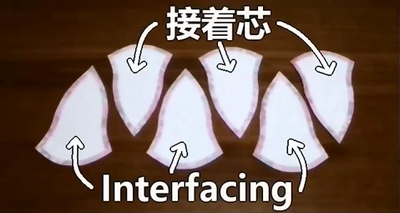
Fusible interfacing gives fabric firmness, and keeps the shape of the hat.
Inner fabrics are 6 pieces. (Seam allowances are included)
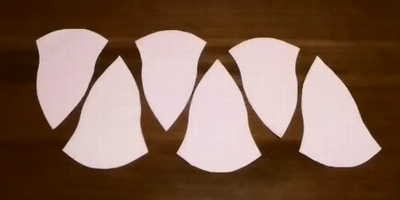
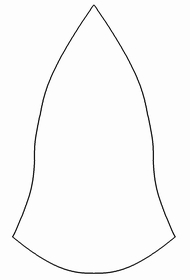
Tulip hat (petal hat) pattern is here.
Make the outer side
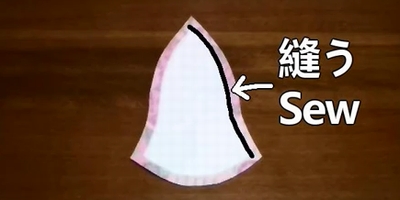
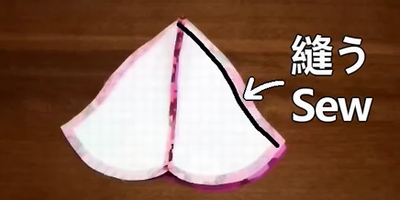
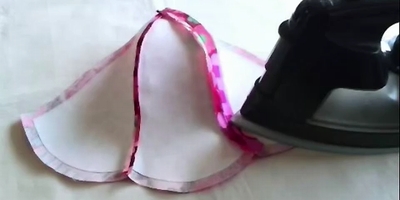
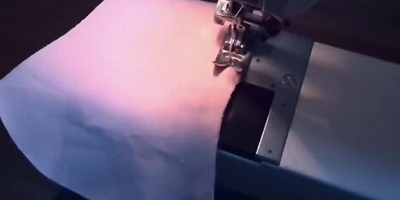
1. Sew the outer fabrics with right side together. Then press seam allowances open.
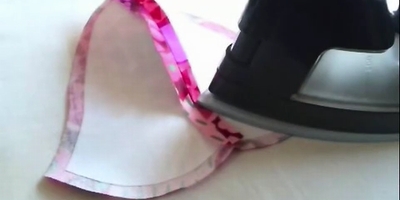
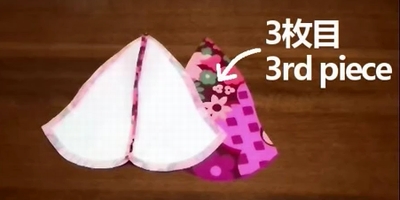
2. Add the third outer piece, sew with right sides together. Then press seam allowances open.
3. Remaining 3 outer fabrics are done the same way.
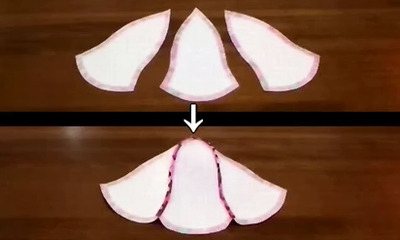
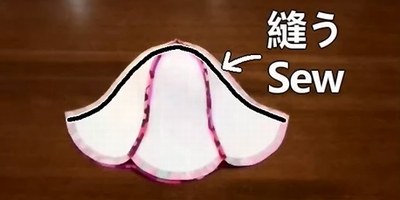
4. Place 2 outer pieces with right sides facing each other, and sew.
Make the inner side
Sew the inner fabrics, same way as the outer fabrics.
Make a tulip hat (petal hat)
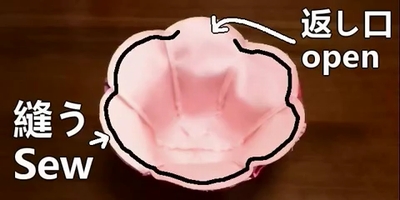
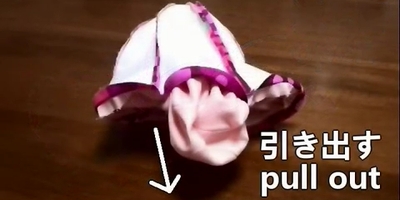
1. Place the inner fabric and outer fabric with right sides facing each other and sew together. (Leaving a 7cm gap for turning.)
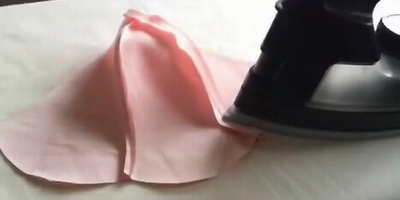
2. Press seam allowances open. Then turn inside out from the gap.
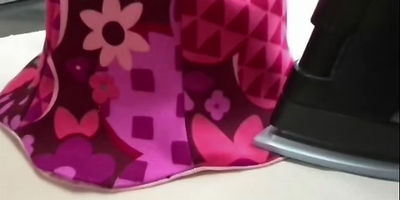
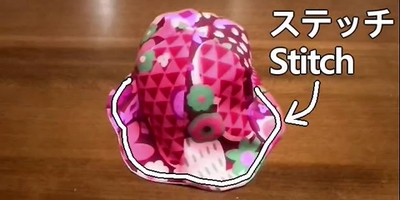
3. Iron around the edge and stitch the edge. The tulip hat (petal hat) is done.
Following is the video for how-to.