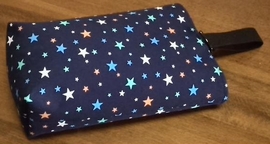
How to sew the children’s shoe bag
Today’s handcrafted goods is “shoe bag".
Materials
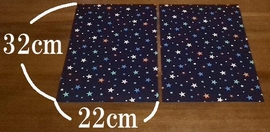
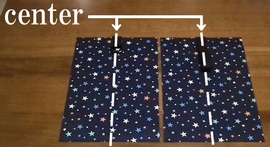
Outer body fabrics, 32cm by 22cm are 2 pieces. (Seam allowances are included, attach interfacing)
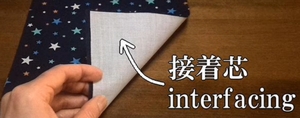
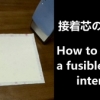
Fusible interfacing gives fabric firmness, and keeps shape of shoe bag.
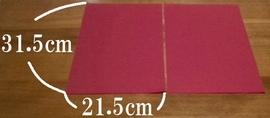
Inner body fabrics, 31.5cm by 21.5cm are 2 pieces. (Seam allowances are included)
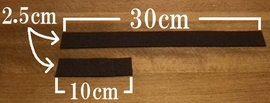
Acrylic webbing, 2.5cm by 30cm is 1 piece. 2.5cm×10cm is 1 piece.
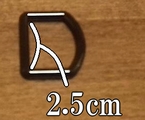
D-ring is 1 piece.
Make bag body (outer)
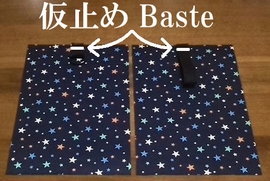
1. Baste the outer fabric and acrylic webbing (with D-ring) together.
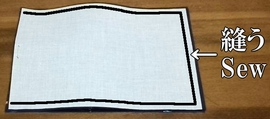
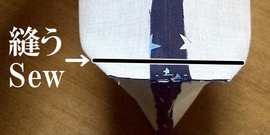
2. Lay the outer fabrics with right side, and sew the side and bottom.
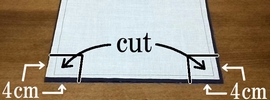
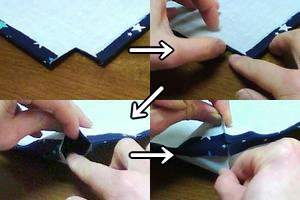
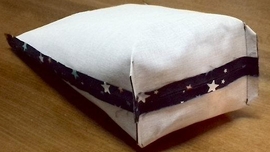
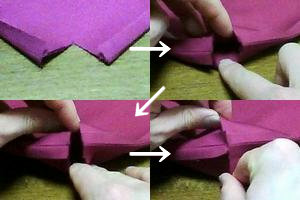
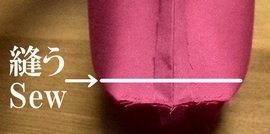
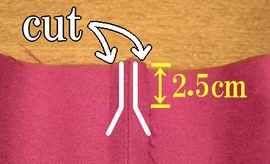
3. Cut off extra cloth, and press seam allowances open. Then make gusset, and sew.
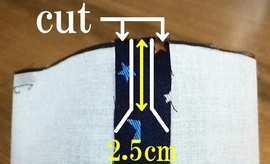
4. Cut the extra seam allowances.
Make bag body (inner)
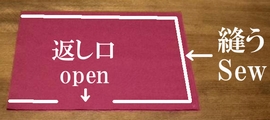
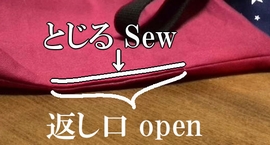
1. Lay the inner fabrics with right side, and sew the side and bottom. (Leaving 8cm open for turning.)
2. Cut off extra cloth, and press seam allowances open. Then make gusset, and sew.
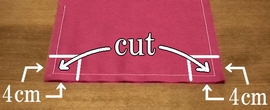
3. Cut the extra seam allowances.
Sew the outer and inner together
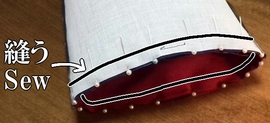
1. Insert the inner bag into the outer bag, with right side together. Then sew around.
2. Unseam the bastings. Then press seam allowances open.
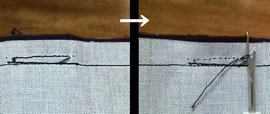
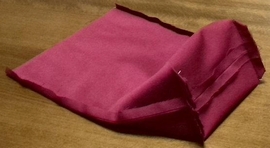
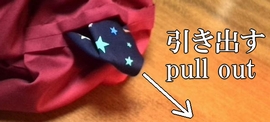
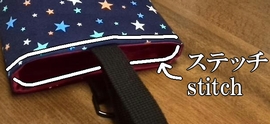
3. Turn inside out, and sew the edge.
4. Do the ironing, and stitch the edge of bag mouth. It’s done.
Making movie is the following.