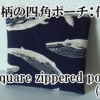
How to sew a square zippered pouch (marine style) sewing pattern is not necessary
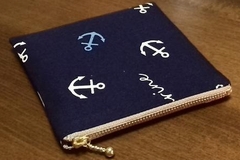
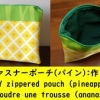
Today’s handcrafted goods is “DIY marine style zippered pouch".
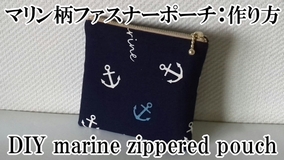
Materials
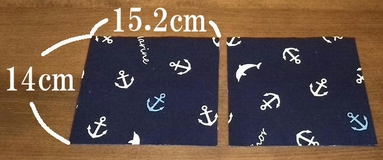
Outer body fabrics, 14cm by 15.2cm are 2 pieces. (Seam allowances are included, attach interfacing)
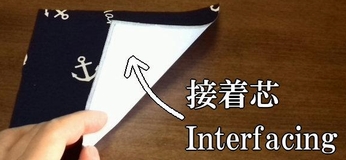
Fusible interfacing gives fabric firmness, and keeps shape of pouch.
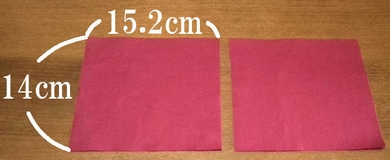
Inner body fabrics, 14cm by 15.2cm are 2 pieces. (Seam allowances are included)
12cm zipper.
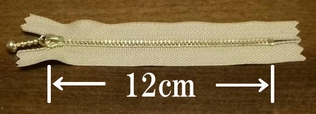
Fold the both ends of zip tape, and sew.
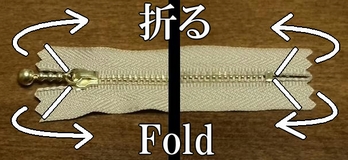
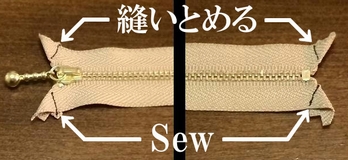
How to fold zipper tape extensions. More info.
Install the zipper
1. Sew the outer fabric and zipper with right side together.
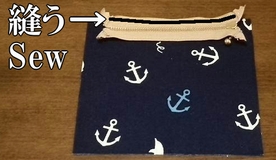
2. Then sew the outer and inner with right side together.
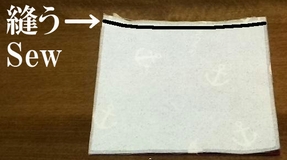
How to install a zipper. More info.
3. Fold the outer fabric, and iron. Then stitch the edge.
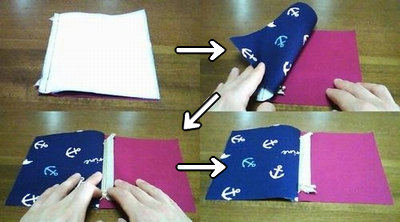
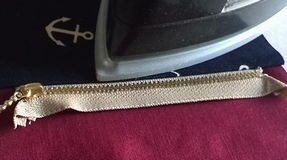
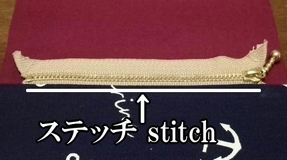
4. Fold the inner fabric, and iron.
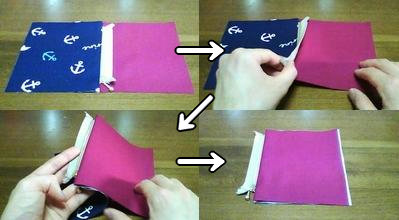
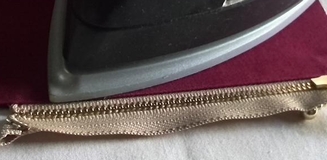
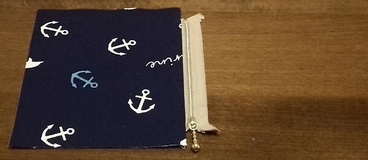
5. Sew the other side of zipper, do the same way.
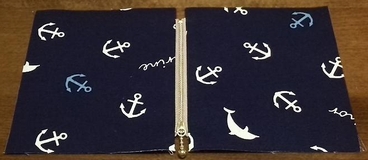
Make the pouch
- Lay the fabric with right side, and sew around. (Leaving 5cm open for turning.)
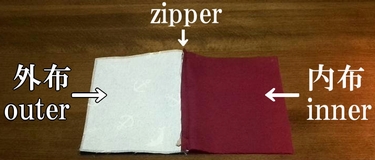
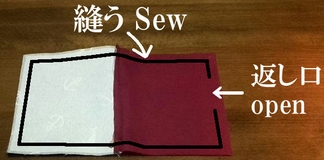
DIY zippered pouch tip and tricks.
2. Cut off extra cloths, and press seam allowances open.
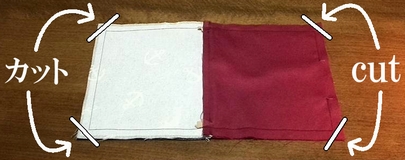
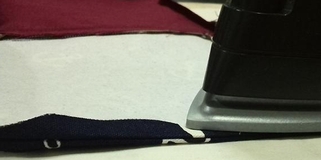
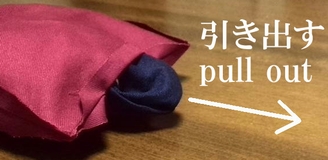
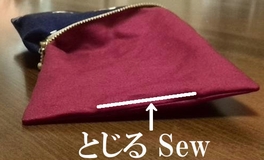
3. Turn inside out, and sew the edge. It’s done.
Making movie is the following.




Discussion
New Comments
No comments yet. Be the first one!