Braided fabric bracelet tutorial
Today’s handcrafted accessory is “Braided fabric bracelet".

How to make “Braided fabric bracelet"
Make the fabric scraps into the tapes
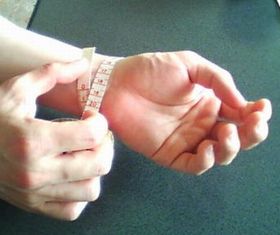
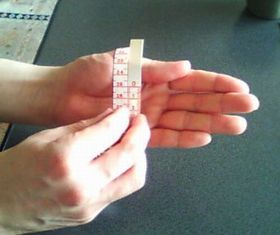
Measure the wrist and longest dimension of palm.
Fabric scraps is dungaree. Length of the strips is longish. Width is 3~4cm. Prepare the 3 same cloths for braid.
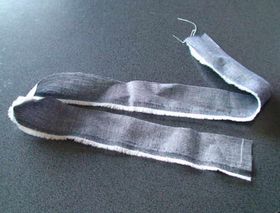
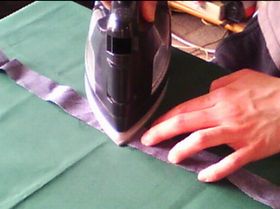
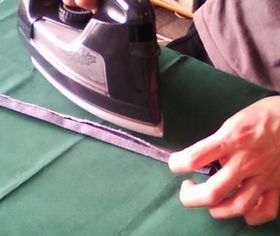
If the length of the strip is shortish, sew the pieces of cloth. Then press seam allowances open.
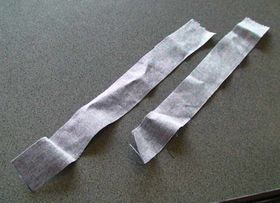
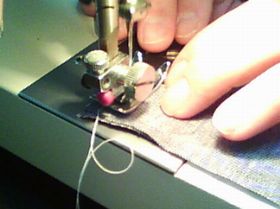
Fold the 3 strip in four, and stitch. Make into the 3 tapes.
Braid and make a bracelet
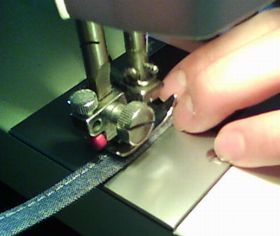
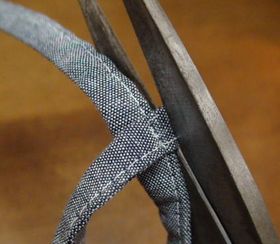
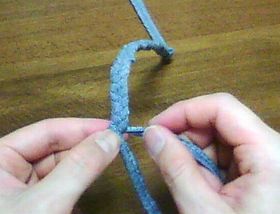
Sew the 3 tapes on a sewing machine. One of the 3 tapes, set aside end of the tape for later use.
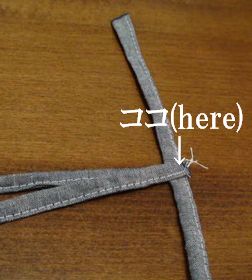
Cut the extra tapes with scissors.
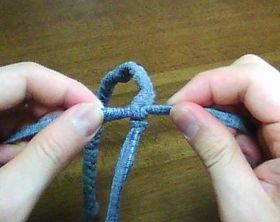
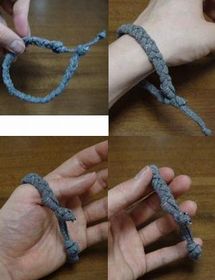
Tie the tapes into a braid until necessary length.
First, move the tape A between B and C.
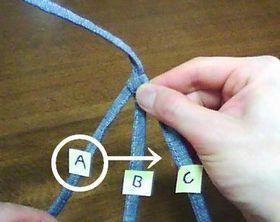
Then, move the tape C between B and A.
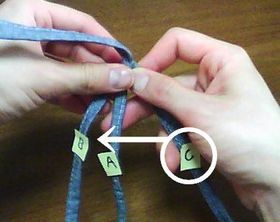
Next, move the tape B between C and A. It’s 1 set.
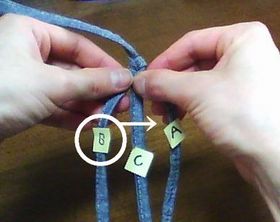
Repeat the same way, braid the tapes.
When the tapes braided, tie the 2 tapes tightly. Then cut the extra tapes with scissors.
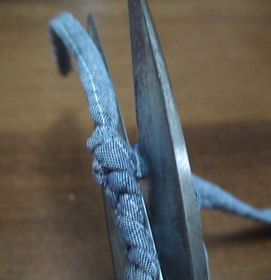
Make the remaining tapes into adjuster. It’s done.
Making movie is the following.